Improve Customer Satisfaction... And your ROI!
A use anywhere NPS widget you can add to your site in 5 minutes.
View the GitHub repository for this project.
Congratulations
Congratulations for choosing the Code Red NPS Widget. It’s so super easy to use and you can pop it into your website and be up and running in next to no time. It looks great, is fully customizable and is even mobile and touch-friendly!

Features
The NPS Widget has a number of features to allow you to get the most from your Customer Satisfaction survey and whilst allowing you include it seamlessly into your site.
Positioning
You can poition the widget in any corner of your site whilst also specifying corresponding distances from each edge.
Throughout this site you’ll see these effects as we’ve changed the widget on different pages, sometimes subtly.
Styling
You can style the widget with any colours you want so that it feels like a natural part of your website. This includes the ability to change the active colours of the widget, i.e. rollovers or the elements your users interact with.
Questions and user responses
The most important aspect of the NPS widget is the questions you ask of your customers. You can add an introduction to the feedback form, specifiy the text of the NPS question and even change the scale of the rating. It doesn’t have to be the standard 0 - 10 rating system that most NPS widgets use.
Lastly you can specify what optional comments you’d like from your users. Not only can you specify a question to ask your users when calling for extra comments, but you can provide any number of ranges within the rating scale where you can ask for a different comment (e,g, between 1-5 you can ask one question and 5-10 ask another).
User Interaction Saved Across Browser Refreshes
Isn’t is annoying when something goes wrong and you loose all your data on the page by accidently refreshing the browser or navigating away from the page by mistake?
Your users won’t suffer from this problem as the state of the widget is saved to the browser’s local storage. This means that navigating away from the page or even hitting refresh won’t loose any of your customers’ interactions with the widget. It’ll be in exactly the same state when they come back to it as it was when they left it.
This data won’t survive a user clearing the browser’s history though, so it’s easy to reset if needed.
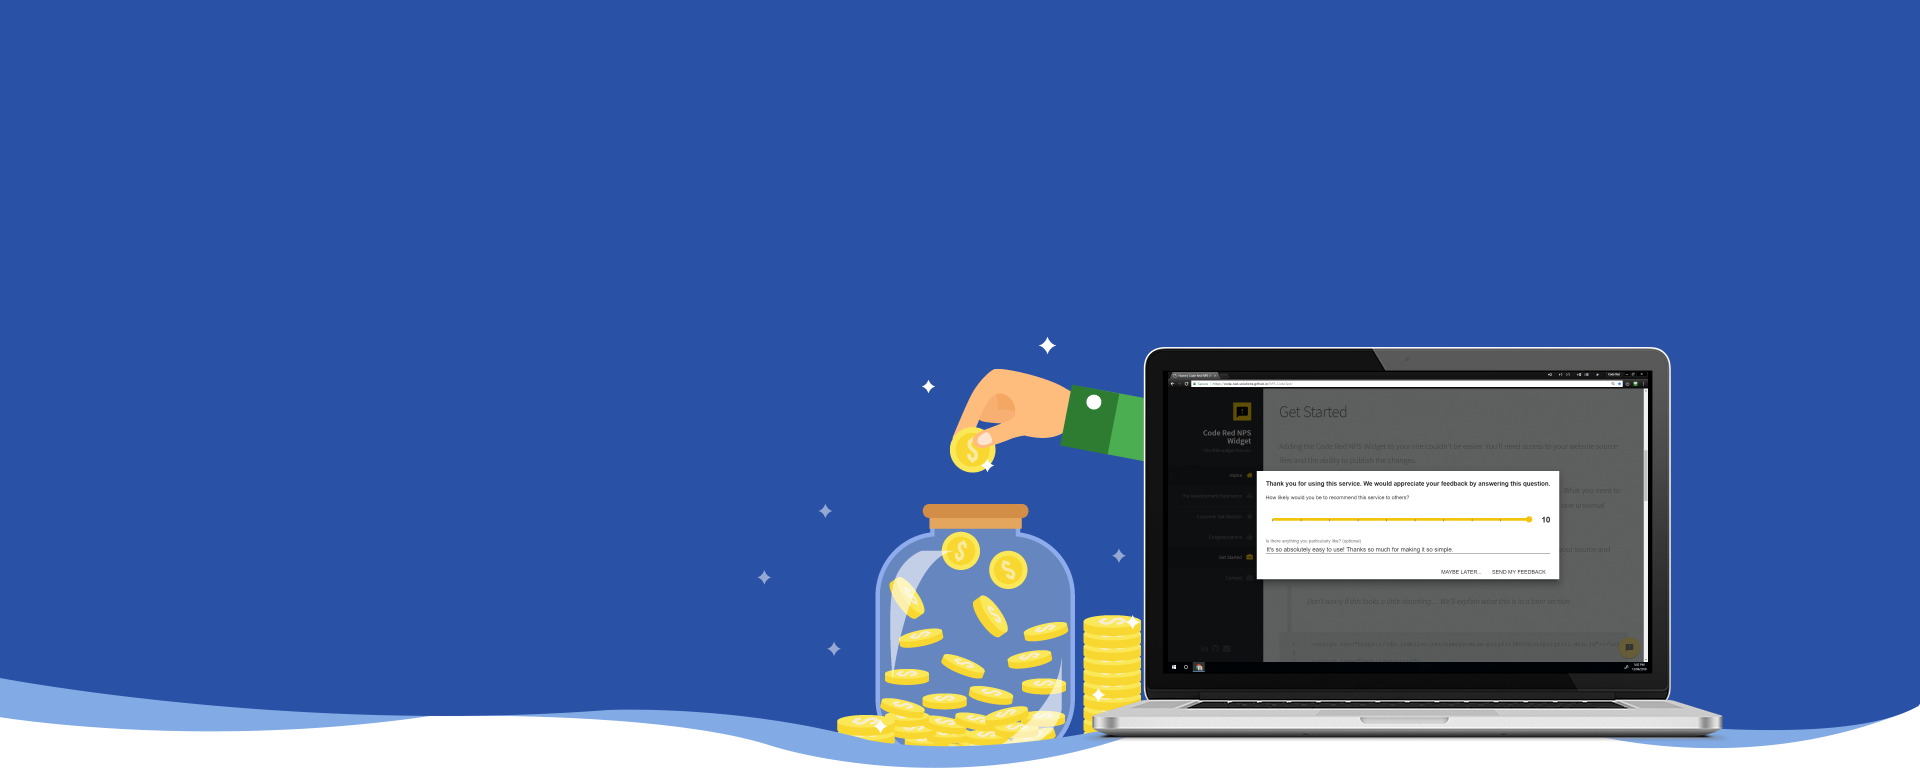
Get Started
Add the widget code to your site
Adding the Code Red NPS Widget to your site couldn’t be easier. You’ll need access to your website source files and the ability to publish the changes.
All we’ll be doing is adding some JavaScript <script> tags which will load the widget. What you need to do is decide where you want to show the widget (i.e. a different one on specific pages or one universal widget across your entire site).
Once you know where to place the widget, you can just add the JavaScript to your source and publish the changes.
Don’t worry if the JavaScript code below looks a little daunting… We’ll explain it in a later section…
It’s best to place the widget code towards the end of your HTML. Find the closing</body>tag and add the following just before it:
1
2
3
4
5
6
7
8
9
10
11
12
13
14
15
16
17
18
19
20
21
22
23
24
25
26
27
28
29
30
31
32
33
34
35
36
37
38
39
40
41
42
43
44
45
46
47
48
49
50
<script src="https://cdn.jsdelivr.net/npm/promise-polyfill@8/dist/polyfill.min.js"></script>

<script type="text/javascript">

function injectScript(src) {
  return new Promise(function (resolve, reject) {
	const script = document.createElement('script');
	script.async = true;
	script.src = src;
	script.addEventListener('load', resolve);
	script.addEventListener('error', function () { reject('Error loading script.') });
	script.addEventListener('abort', function () { reject('Script loading aborted.') });
	document.head.appendChild(script);
  });
}

function initialzeCodeRedNpsWidget(config) {
  injectScript('https://code-red-solutions.github.io/NPS-CodeTest/lib/dev/custom-elements-es5-adapter.js')
	.then(function () {
	  console.log('Script \'custom-elements-es5-adapter.js\' loaded.');
	  injectScript('https://code-red-solutions.github.io/NPS-CodeTest/lib/dev/webcomponents-loader.js')
		.then(function () {
		  console.log('Script \'webcomponents-loader.js\' loaded.');
		  document.addEventListener('WebComponentsReady',
			function (e) {
			  console.log('Event WebComponentsReady fired.');
			  injectScript('https://code-red-solutions.github.io/NPS-CodeTest/lib/dev/codered_nps_widget.js')
				.then(function () {
				  console.log('Script \'codered_nps_widget.js\' loaded.');
				  const npsWidget = new (codered_nps_widget.NpsWidget)(config);
				  document.getElementsByTagName('body')[0].appendChild(npsWidget);
				  npsWidget.render();
				}).catch(function (error) {
				  console.log(error);
				});
			});
		}).catch(function (error) {
		  console.log(error);
		});
	}).catch(function (error) {
	  console.log(error);
	});
}

</script>
<script type="text/javascript">

	initialzeCodeRedNpsWidget();

</script>
That’s it
Publish your changed file and you’re done. It’s that simple!
There is a more advanced set of instructions in the next section should you wish to configure the widget to suit your needs. In the meantime, you should be able to see the widget on your site. Try it out! You should see the widget in the bottom right of your page, just as on this very page.